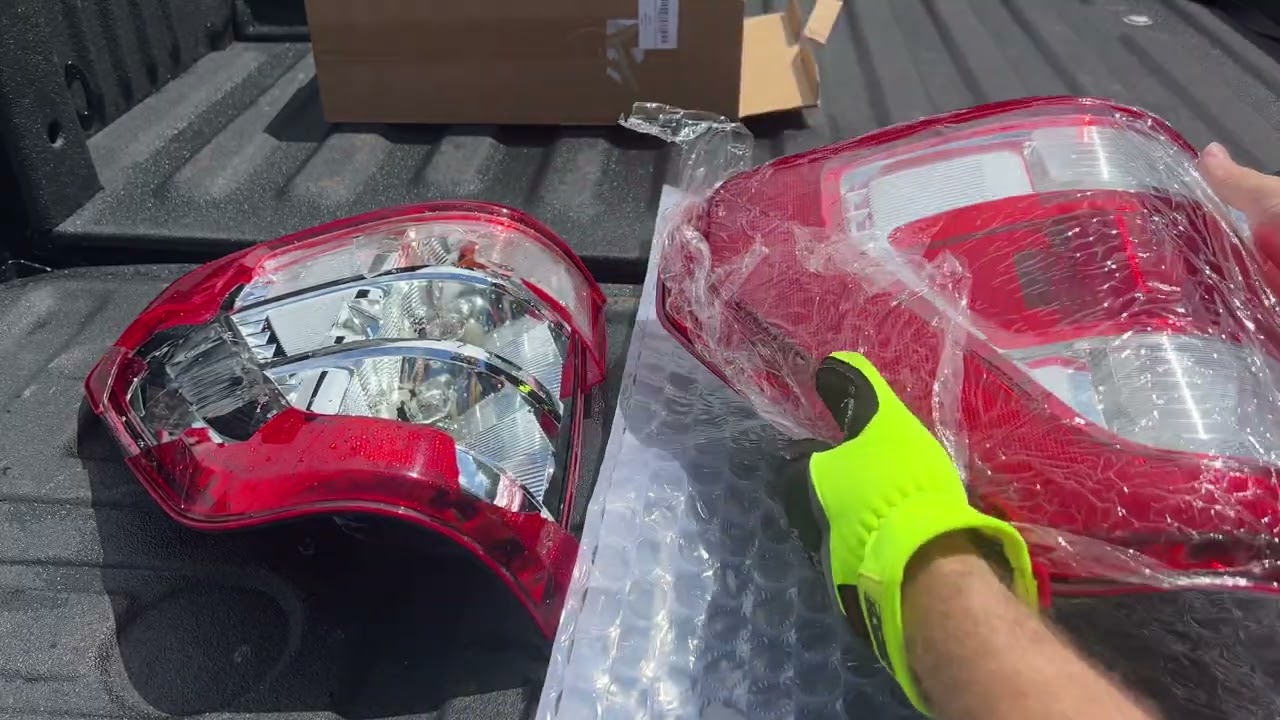
Hi, I’m new here and need some help. I have a broken tail light assembly on my 2018 F150 Lariat, part # KL3Z-13405-B. A local shop quoted $715 for a replacement, which seems fair based on online prices. Does anyone know where I can find it cheaper? Also, if I get a replacement without the blind spot sensor, can I reuse the sensor from my broken one? Only the plastic cover is broken. Thanks!
You’ve mentioned that a local price quoted $715 and that seemed fair. I’ll advice that you let the professionals handle it.
For potentially lower prices, you could explore aftermarket options on websites like Amazon, where third-party vendors might offer competitive rates.
Based on my knowledge, Arthur, here’s how to replace a tail light:
- Open the trunk or tailgate.
- Pull the tail lamp assembly out (if needed).
- Remove the old bulb.
- Apply bulb grease and insert the new bulb.
- Reattach the assembly (if needed).
- Repeat on the other side.
It requires some effort and patience when replacing a broken tail light assembly on a 2018 F150 Lariat, but it is a Do It Yourself project. You will start by removing the tail Light Assembly by applying some force and be careful not to damage the surrounding trim or body panels. Pull the whole light assembly straight back towards you and you will find out that there are only two small pointed pins holding it in place at this point. Gently pull the connector off the assembly, taking care not to damage the pins or the connector itself, With the electrical connector disconnected, you should be able to remove the tail light assembly from the truck. You may need to wiggle it a bit to dislodge it from its mounting points. Take the new tail light assembly and align it with the mounting points on the truck and make sure it is properly seated and secure, reconnect the electrical connector to the new assembly, ensuring it is attached securely. Reattach the tail light assembly to the truck while making sure it is securely fastened, lastly you have to be patient and test the new assembly to ensure it is functioning properly.
